
Table of Contents
- Immediate Steps After a Pipe Burst to Stop Mold
- How Long Does It Take for Mold to Grow After Water Damage?
- Signs of Mold Growth After Water Leak to Watch For
- Drying Techniques and Equipment That Prevent Mold
- When to Call Professional Water Damage Restoration Services
- Insurance Documentation and Post-Remediation Testing
- Frequently Asked Questions
Last Updated: September 14, 2026
Immediate Steps After a Pipe Burst to Stop Mold
The first hour after a pipe burst decides whether you’re looking at a drying job or a mold remediation project, and preventing mold growth starts with that same window. Preventing mold growth after water pipe burst damage comes down to speed: the faster you remove water and drop indoor humidity, the less likely mold spores will ever find a surface wet enough to colonize. This guide from Advance Restoration Remediation walks through the exact sequence, from shutting off the supply to knowing when to call a professional.
Shut Off Water and Cut Power Safely
Stop the water before you do anything else. Close the main shutoff valve, then open the lowest faucet in the house to drain the lines. If water is pooling near outlets, appliances, or your electrical panel, cut power at the breaker only if you can reach the panel while standing on dry ground. Never wade into a flooded room to flip a switch.
Extract Standing Water and Remove Saturated Items
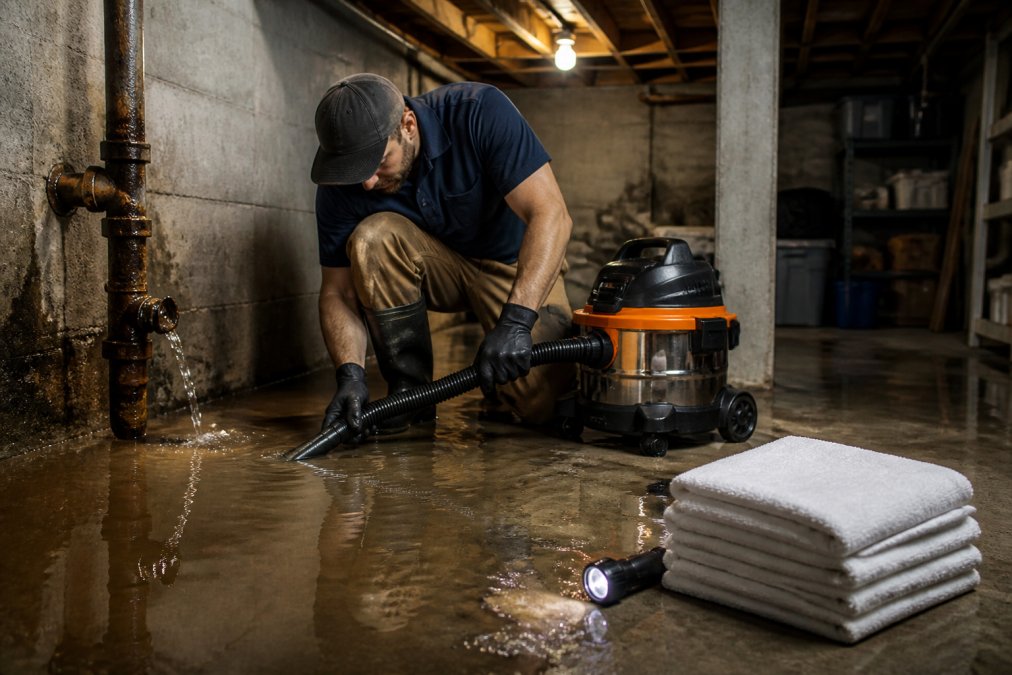
Standing water is the single biggest driver of mold risk. Use a wet-dry vacuum for shallow pools and a sump pump or mop and bucket for deeper water. Pull up soaked rugs, cardboard, paper, and any fabric that has been wet for more than a day. These porous materials hold moisture long after the floor looks dry, and they’re the first places mold spores settle.
How Long Does It Take for Mold to Grow After Water Damage?
Mold can begin colonizing a wet surface in as little as 24 to 48 hours, which is why the clock starts the moment water touches drywall, subfloor, or insulation (the CDC). That window is shorter in humid conditions and longer in cold, dry rooms, but you should treat two days as your hard deadline for getting materials dry.
The 24 to 48 Hour Window
Fungal colonization needs three things: moisture, organic material, and warmth. A damp subfloor or drywall saturation supplies all three. According to the EPA’s mold guidance for homeowners, mold growth can start within 48 hours of water exposure and spreads faster when indoor relative humidity stays above 60%. If you can’t dry an area inside that window, assume mold has already started and plan for remediation rather than just drying.
Signs of Mold Growth After Water Leak to Watch For
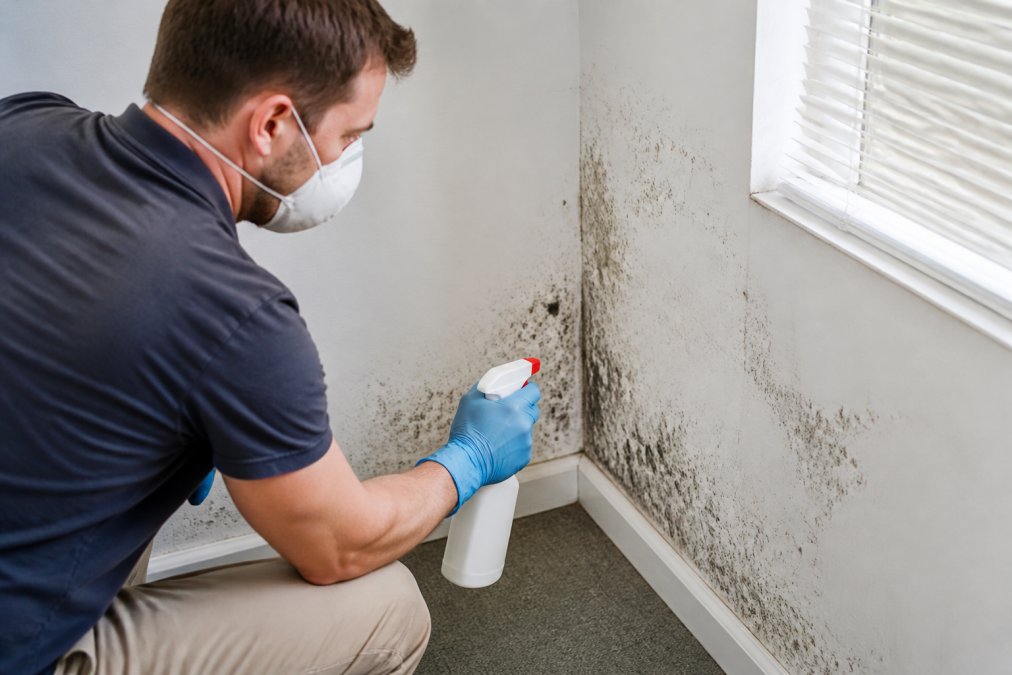
A musty, earthy smell is usually the first sign of mold growth after water leak damage, often appearing before you see anything on the walls. Visible discoloration, warped baseboards, and bubbling paint follow within days.
Musty Odors, Discoloration, and Hidden Moisture
Check the areas you can’t see. Mold hides behind baseboards, under flooring, and inside wall cavities where water traveled. A cheap hygrometer or moisture meter tells you whether a “dry” surface is actually dry, and thermal imaging can reveal cool spots that indicate trapped moisture. If a wall reads damp weeks after the leak, the problem is still active.
Drying Techniques and Equipment That Prevent Mold
Structural drying is the difference between a repaired home and a recurring mold problem. The goal is to move moisture out of materials and the air faster than mold spores can use it.
Air Circulation, Dehumidifiers, and Air Scrubbers
Set up the right equipment and run it continuously:
| Equipment | What It Does | Where It Matters Most |
|---|---|---|
| Dehumidifier | Pulls moisture from the air | Closed rooms, basements |
| High-velocity fans | Speeds evaporation from surfaces | Floors, walls, ceilings |
| Air scrubbers | Filter mold spores and particles | Occupied spaces, post-cleanup |
| Wet-dry vacuum | Removes standing water fast | First 24 hours |
Open windows only when outdoor humidity is lower than indoors. Otherwise, ventilation brings more moisture in than it removes. Keep air circulation moving across every wet surface, including the backs of cabinets and inside closets.
Running a dehumidifier in a sealed, hot room without ventilation can raise the temperature enough to speed microbial growth rather than slow it. Crack a door or run a fan to keep air moving.
When to Call Professional Water Damage Restoration Services
Most homeowners can handle a small, clean-water pipe burst on a hard floor if they act within a few hours. The decision gets harder once water has moved into materials that hold moisture. Use the matrix below as a starting point, then err toward calling a pro when two or more rows land in the right-hand column.
| Factor | Likely DIY | Likely Professional |
|---|---|---|
| Affected area | Under ~10 sq ft, one room | Over ~10 sq ft, or multiple rooms |
| Water category | Category 1 (clean supply line) | Category 2 (gray) or Category 3 (black/sewage) |
| Time wet | Under 24 hours, caught fast | Over 24-48 hours, or unknown |
| Materials touched | Tile, sealed concrete, vinyl | Drywall, carpet, pad, hardwood, insulation, subfloor |
| Depth of intrusion | Surface only | Into wall cavities, under flooring, or into HVAC |
| Visible signs | None beyond wet surface | Warping, bubbling paint, musty odor, stained ceiling |
| Occupants | Healthy adults | Infants, elderly, asthma or immune-compromised residents |
Why Each Threshold Matters
Water category. The IICRC’s S500 standard classifies water as Category 1 (clean, from a supply line), Category 2 (gray, from a washing machine discharge or toilet bowl without waste), and Category 3 (black, from sewage, toilet backflow with waste, or any water that has sat long enough to grow bacteria). Category 3 water requires antimicrobial treatment, containment, and personal protective equipment, respirators rated N95 or higher, gloves, and eye protection, that most households do not keep on hand (osha.gov). Category 1 water can degrade to Category 2 within about 48 hours as bacteria multiply, so a “clean” leak that sat over a weekend is no longer clean.
Material saturation. Drywall wicks water upward through its paper facing and gypsum core. A wall that looks wet only at the baseboard can be saturated 12 to 24 inches higher inside the cavity. Carpet pad acts like a sponge and typically cannot be dried in place, it usually has to be pulled and replaced. Hardwood flooring cups, crowns, and buckles as it absorbs water, and even after surface drying, the subfloor beneath may stay damp for weeks.
Hidden pathways. Water follows gravity and the path of least resistance. It travels along joists, inside wall cavities, and through penetrations around plumbing. A small puddle in a first-floor hallway can mean a saturated ceiling assembly in the basement below. Thermal imaging cameras and pin-type or pinless moisture meters are the tools that reveal this; a hand test is not.
What a Professional Brings That DIY Usually Cannot
Professional remediation typically includes:
- Moisture mapping with calibrated meters and thermal imaging to establish a drying baseline and track progress daily.
- Commercial-grade extraction, truck-mounted or high-CFM portable units that remove water faster than a shop vacuum.
- Refrigerant or desiccant dehumidifiers sized to the cubic footage of the affected area, not the room count.
- Air movers positioned per the IICRC S500 formula (roughly one air mover per 10-16 linear feet of wall, adjusted for material and class of water intrusion).
- Containment and HEPA filtration if mold is already present or suspected.
- Daily moisture readings logged in a drying report, the same documentation your insurer will ask for.
The Cost of Guessing Wrong
A DIY drying job that misses trapped moisture does not fail immediately. It fails in three to eight weeks, when a musty odor appears behind a cabinet or a baseboard starts to swell. By then, the fix is no longer drying, it is mold remediation plus reconstruction, which is a larger insurance conversation and a longer displacement. When in doubt, a professional moisture assessment is a small cost compared to redoing a room.
Never run a standard household box fan or shop vacuum in standing water near energized outlets, and never enter a flooded room to reach the electrical panel. If you cannot safely cut power from dry ground, call an electrician or the utility before anyone wades in.
Advance Restoration Remediation handles water extraction, structural drying, and moisture mapping for homes and businesses across Maryland, DC, and Virginia, with 24/7 response.
Insurance Documentation and Post-Remediation Testing
Most guides stop at “take pictures.” That is not enough to get a claim approved quickly, and it is not enough to prove the job actually worked. This section covers the documentation protocol adjusters expect and the testing that confirms the structure is genuinely dry, not just dry to the touch.
Documentation Protocol for a Water Damage Claim
Build the file before you throw anything away. A complete claim package typically includes:
- Date and time log. Record when the pipe burst, when you shut off the water, when you called your insurer, and when drying equipment was placed. Timestamps matter because most policies require “prompt” notice of loss.
- Source-of-loss photos. Photograph the failed pipe, fitting, or supply line before repair. Adjusters want to see the cause, not just the result.
- Wide, medium, and close photos of every affected room. Wide shots establish scope; close shots show material damage (buckled hardwood, stained ceiling, swollen baseboard).
- Moisture meter readings with the meter visible in the frame. A photo of a reading on a wall is far more persuasive than a written number.
- An inventory of damaged contents. List item, approximate age, and replacement cost. Keep receipts or credit card statements where possible.
- Mitigation receipts. Anything you paid for extraction, equipment rental, or emergency services is typically reimbursable under the “reasonable and necessary” mitigation clause most homeowner policies include.
- Contractor scope of work and drying report. If a pro is involved, their daily moisture logs and equipment placement records become part of the claim file.
Take a photo of your moisture meter reading on every affected wall before and after drying, with the meter’s display clearly legible. Adjusters approve claims faster when the documentation shows a clear before-and-after, and it protects you if a dispute arises later.
What Post-Remediation Testing Actually Checks
“Feels dry” is not a standard. Post-remediation verification (sometimes called clearance testing) confirms three things:
- Moisture content of structural materials is back to a normal baseline for the material and the local climate. A pin-type meter reads percentage moisture content (MC) inside the material; a pinless meter reads relative moisture near the surface. Both are useful, but pin-type readings are the ones most often cited in a drying report.
- Ambient relative humidity in the affected area is within a normal indoor range, commonly cited as roughly 30-50% for comfort and mold prevention.
- Airborne mold spore counts are at or below outdoor baseline levels. This is measured with air sampling (spore trap or viable sampling) collected by a qualified indoor environmental professional (IEP) and analyzed by an accredited lab.
Why Third-Party Clearance Matters
A remediation contractor testing their own work is a conflict of interest. Most insurers, property managers, and real estate transactions expect clearance from a third-party IEP who did not perform the remediation. The IEP collects samples, compares indoor counts to an outdoor control sample, and issues a written report. If spore counts are elevated or the moisture readings are still high, the report identifies where, and the remediator returns to finish the job before the file closes.
Red Flags That the Job Is Not Actually Done
- No written drying report or moisture logs were provided.
- The contractor says testing is “not necessary” because the area looks dry.
- A musty odor returns within a few weeks of the work.
- Baseboards, trim, or flooring still feel cool or slightly soft to the touch.
- The same contractor both performed the work and issued the clearance.
Skipping verification is how homeowners end up with the same musty smell two years later, wondering why the first job did not hold. A clearance report is the paper trail that closes the loop between the insurance claim and a genuinely dry structure.
Frequently Asked Questions
How can I prevent mold from forming after water damage?
Start within the first 24 to 48 hours. Shut off the water source, extract standing water with a wet-dry vacuum, and run dehumidifiers and fans to keep relative humidity low. Remove and discard porous materials like carpet, drywall, and insulation that soaked up water. Check moisture content with a hygrometer and dry until readings match unaffected areas. If the burst pipe flooded more than a small area or water sat overnight, call a professional water damage restoration service to verify structural drying and prevent hidden mold growth.
How long does it take for mold to grow after a pipe burst?
Mold spores can begin colonizing wet surfaces in as little as 24 to 48 hours. The exact timing depends on temperature, humidity, and the material. Drywall, carpet, and wood framing absorb water quickly and give mold a head start. In a warm, humid home, fungal colonization can be visible within three to four days. That is why water extraction and drying need to begin the same day as the pipe burst, not the following week.
Does homeowners insurance cover mold remediation after a pipe burst?
Most homeowners policies cover sudden and accidental water damage from a burst pipe, including mold remediation that results from that covered event. Coverage usually depends on how quickly you reported the loss and whether you took reasonable steps to dry the property. Document everything with photos and moisture readings before cleanup, keep receipts for equipment rentals, and file the claim promptly. Review your specific policy language, since some policies cap mold-related payouts.
Can I dry out my home myself or do I need professional restoration?
You can handle a small, clean-water leak that soaked a limited area if you start immediately. Rent or buy a wet-dry vacuum, set up fans and a dehumidifier, and monitor moisture with a hygrometer. Call a professional when the water is gray or black, when it soaked into drywall, subfloor, or carpet padding, when the affected area exceeds roughly 10 square feet, or when more than 48 hours have passed. Professionals use thermal imaging, air scrubbers, and moisture mapping to confirm the structure is actually dry.
